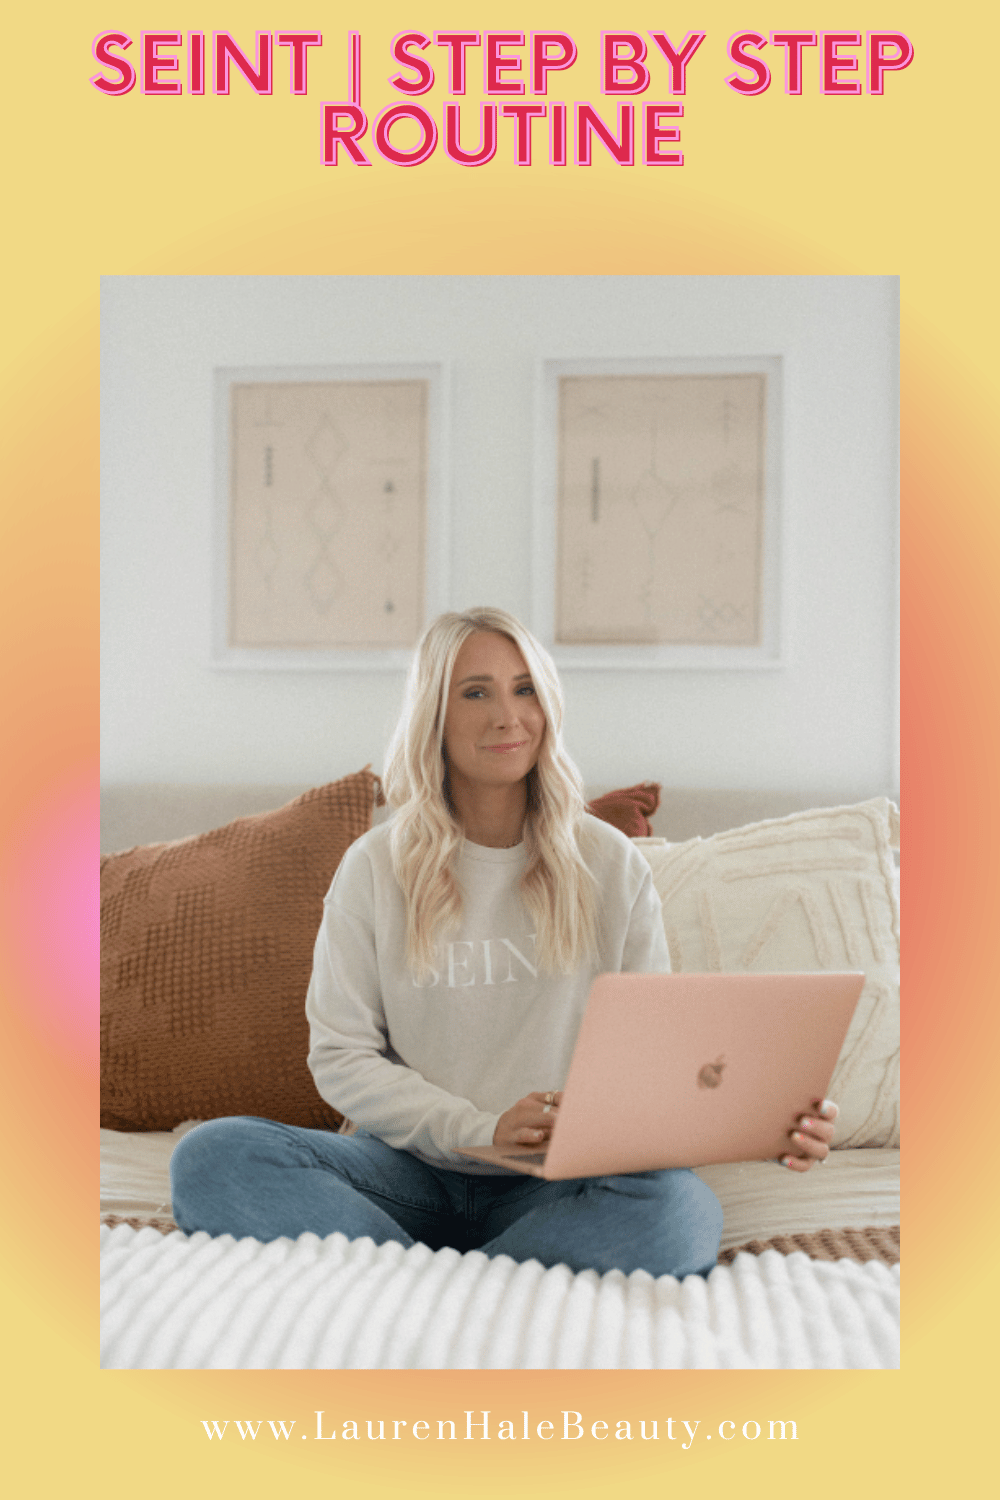
SEINT | Step By Step Routine
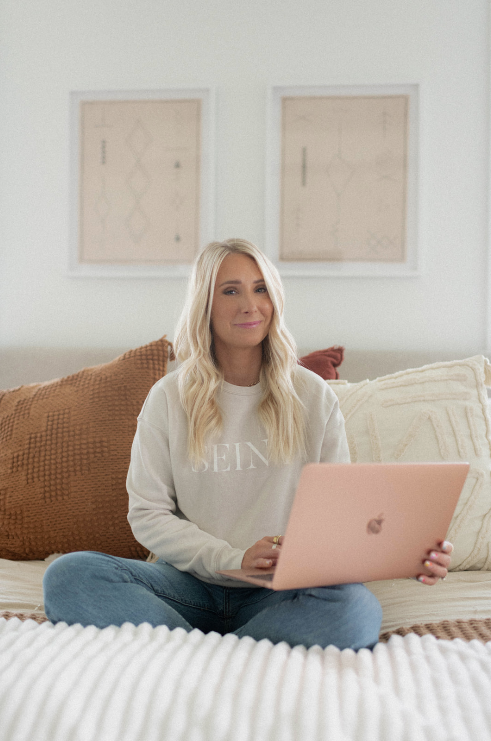
As many of you know, I am obsessed with my SEINT cream makeup products! But what exactly is SEINT and how does their makeup prove to be different than other brands that we all know of? As I have entered my 40’s, my skin has changed a lot. There are definitely more fine lines and wrinkles, texture, age spots and finding a makeup that doesn’t accentuate them was tough…until I found Seint! Aging is a natural part of getting older, but I was tired of not being able to find brands that made makeup that moved with my skin. I felt like everything I tried made me feel and look worse. One day, I stumbled upon cream makeup and immediately loved how skinlike and glowy it made my skin look!
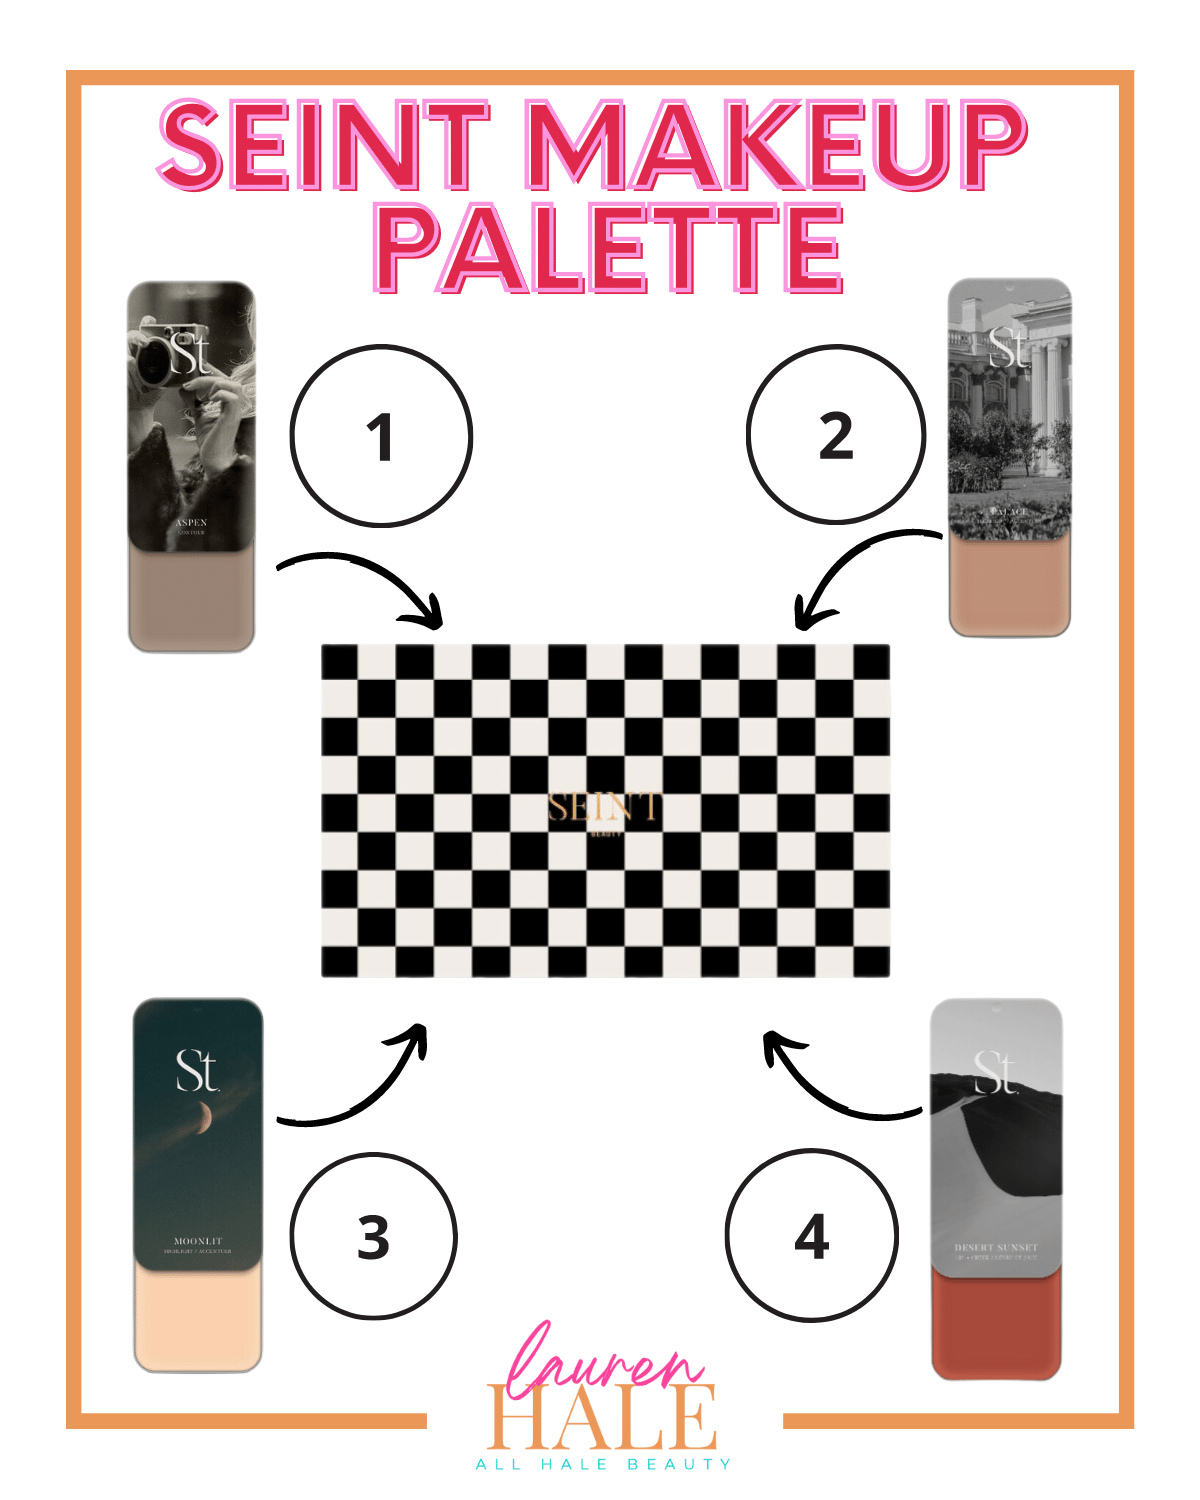
Seint is a customized makeup system that allows you to personalize your makeup palette according to your lifestyle. Each product comes in a magnetic tin that magnetizes into a palette to hold all of the products you need for your entire face! No more makeup bag🙌🏻 The best part is creams are very pigmented so each tin holds as much product as a bottle of liquid foundation or blush you would find at the beauty store. A little goes a long way! Check out how I use and apply each product!

Before Vs. After
STEP 1: CONTOUR
Contour👉🏻 Is a cool toned shade. Often ashy, so that it provides a shadow to the face. It is used to lift, sculpt and add dimension. It is placed anywhere you want to minimize an area. Most common places are the forehead, cheekbones, jawline, nose and around outer edges of the lips to make them appear larger. Always use your face as a roadmap when applying contour and only apply it where you need it.
STEP 2: MAIN HIGHLIGHT
Main Highlight👉🏻 This is a fancy word in Seint for your foundation. Your main highlight is the one that matches your skin tone the best. It is placed around the contour (not going above the hollows around the eyes) and anywhere you need or want coverage.
STEP 3: BRIGHTENER HIGHLIGHT
Brightener Highlight 👉🏻 this is your concealer. Your concealer shade should not be too light or it will show texture (especially on aging skin). Instead, opt for a shade 1-2 shades lighter than your foundation shade and apply on the inner and outer corners of the eyes. Blend down the nose, around the hollow of the eye and toward the hairline. I also like to apply this color down the middle of the face for a brightening affect.
STEP 4: BLUSH
Blush👉🏻this one is so fun! It adds color to the face. I always suggest choosing colors you are drawn to and playing with colors that maybe are out of your comfort zone….you never know what might look good on you unless you try! Applying blush higher on the cheek gives a more lifted look, while applying blush on the apples of the cheeks gives a more full look to the face. This is perfect to use on your lips as well!
From tons of expensive makeup products to all of your makeup in one palette!
Interested In A Free Color Match?

Let me help you find the perfect color match for your skin. SEINT has products for literally everyone, and sometimes getting into makeup can be intimidating. However, that is why I am here! Let me help you!